How to take a [screenshot] on a Mac
Three keyboard shortcuts cover almost everything: the whole screen, a selected area, or a single window. Here is every method, every modifier key, where the files land, and how to turn a flat grab into something worth sending.
- One-time $19
- No subscription
- No account
- On-device
Updated August 2026·7 min read
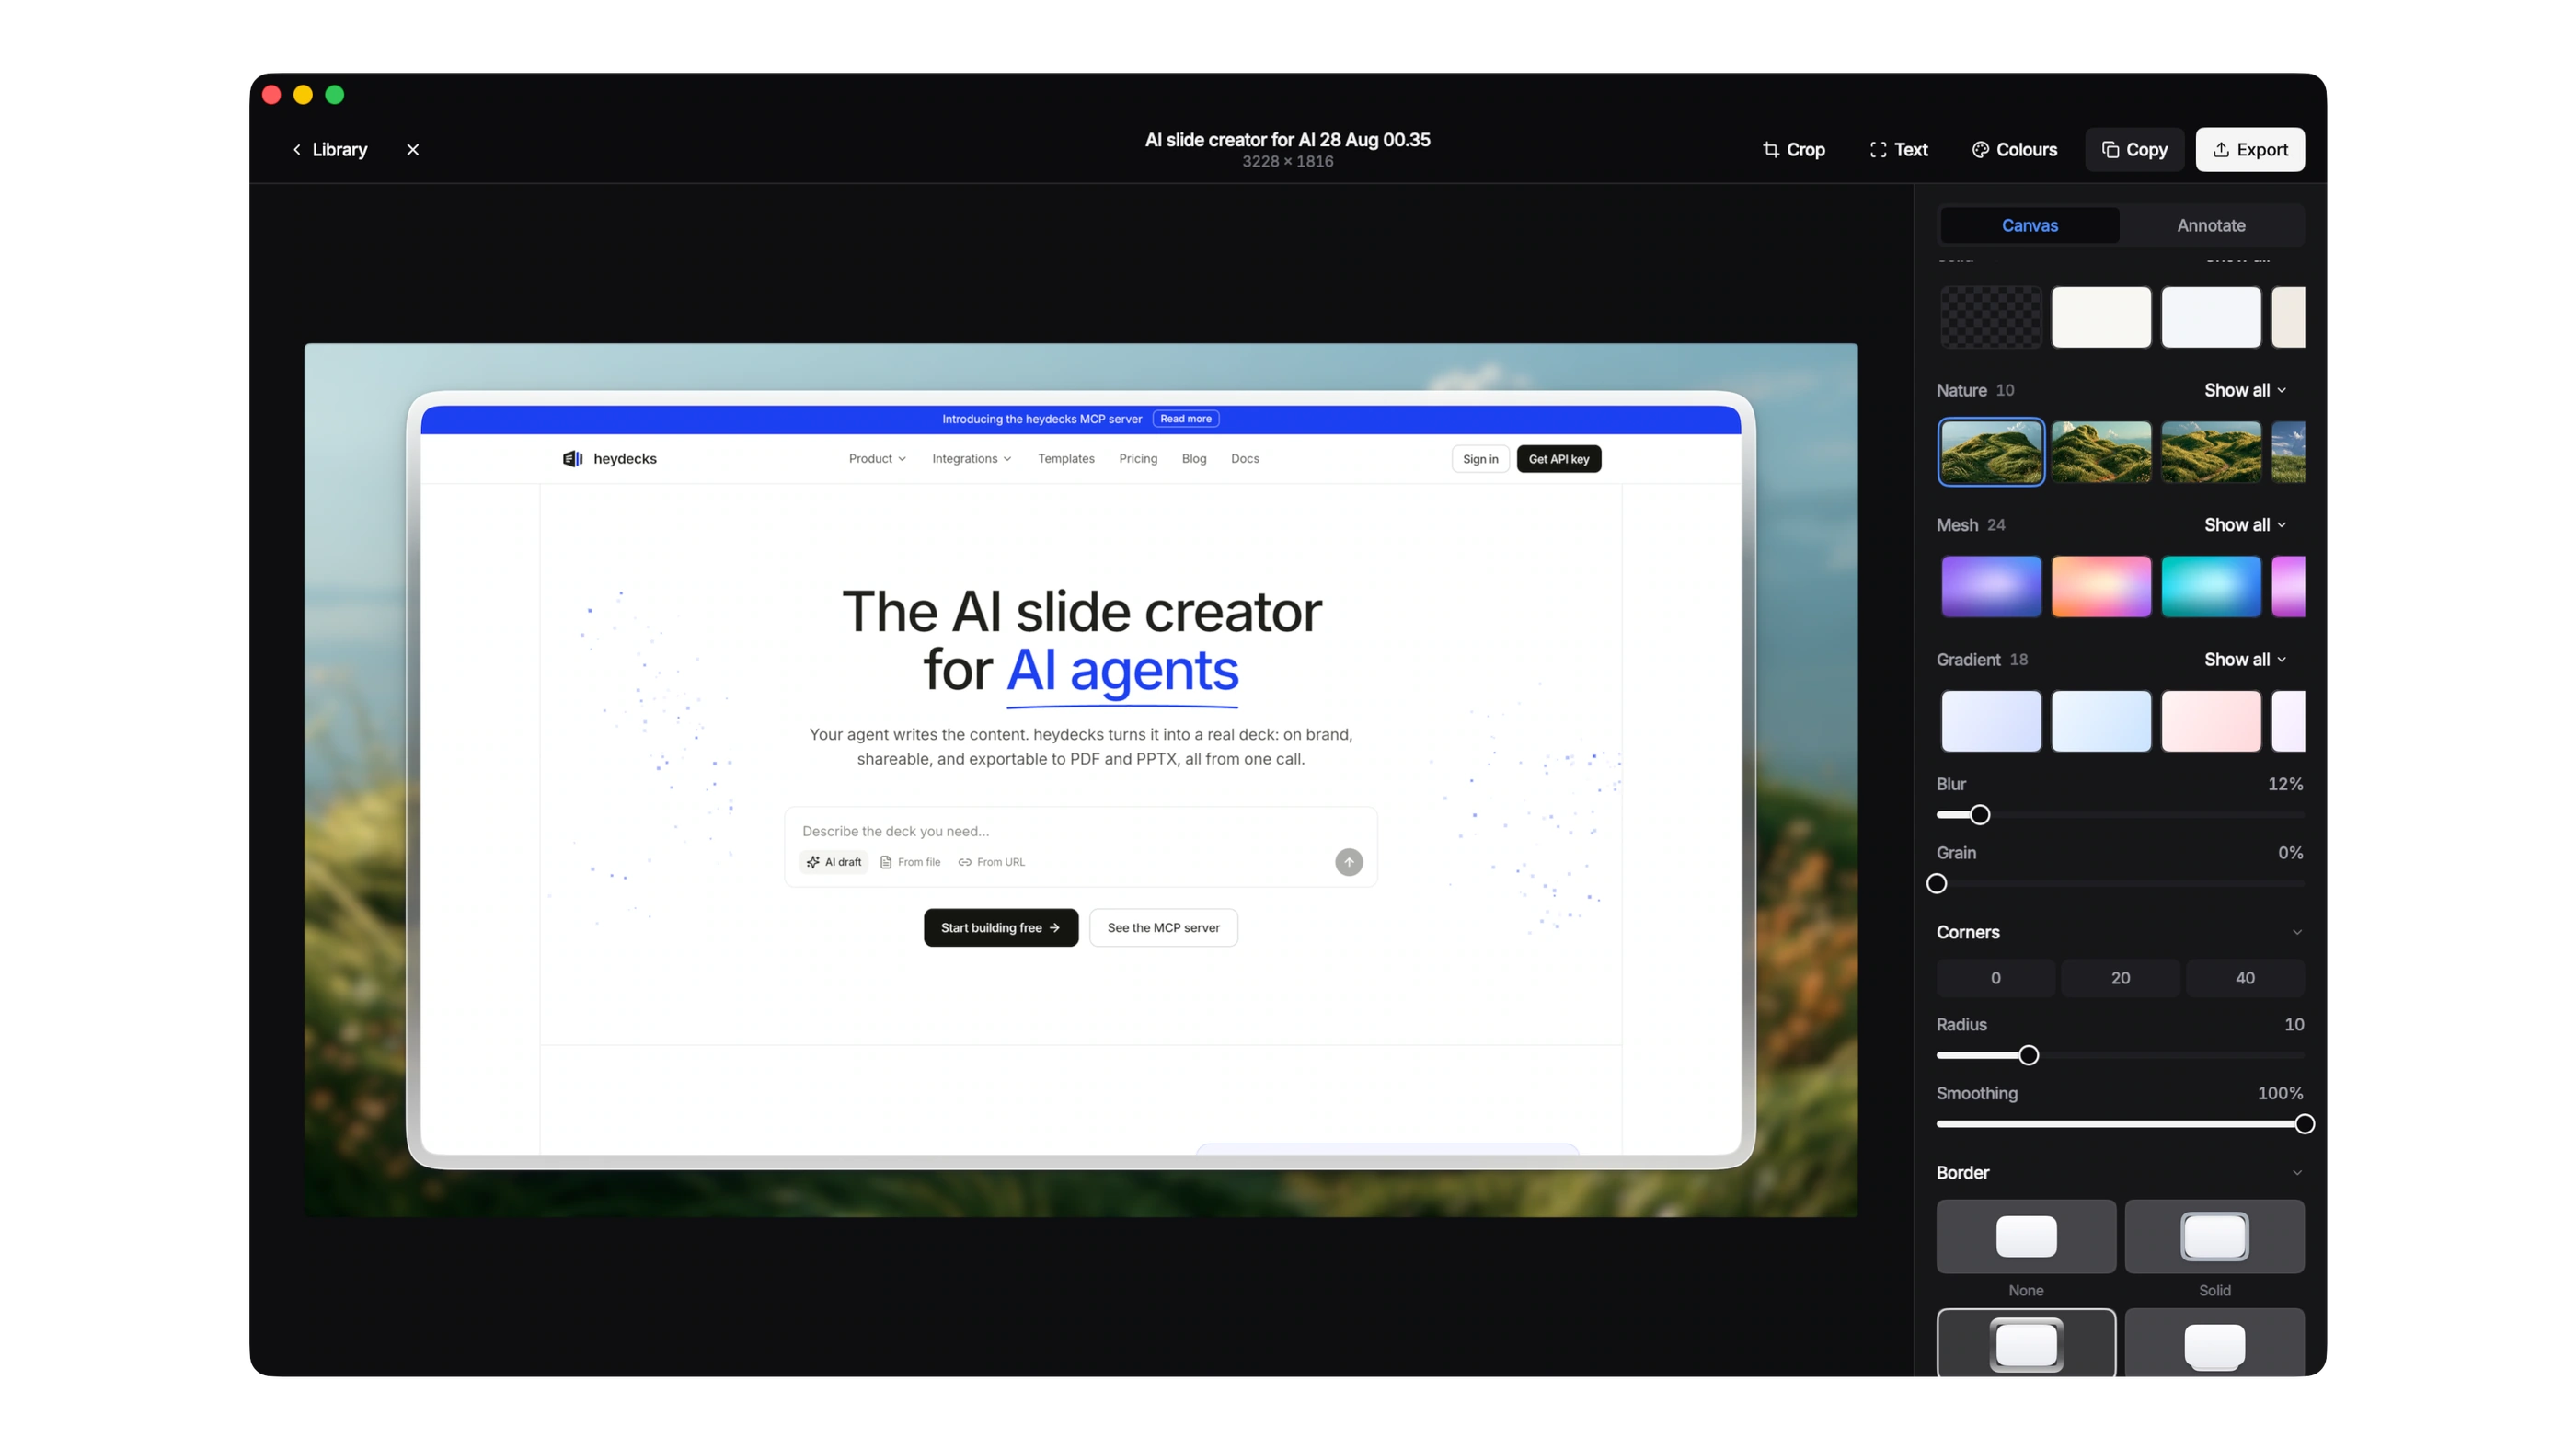
Your Mac has a full screenshot system built into the keyboard. Nothing to install, nothing to open first. Learn three shortcuts and a handful of modifier keys and you can grab anything on screen in about a second.
Every shortcut starts with ⇧ ⌘ held together, then a number. The number decides what you capture. By default the result saves to your Desktop as a PNG, though you can change both the format and the folder, which we cover further down.
Capture the whole screen
The fastest capture on the Mac. Press ⇧ ⌘ 3 and macOS grabs everything visible at once. If you have more than one display connected, you get a separate PNG for each screen, so you never have to choose which monitor to shoot.
You will hear a shutter sound and see a small thumbnail slide into the bottom-right corner. Click that thumbnail to mark up or crop the shot right away, or ignore it and it drops to the Desktop on its own.
Send it to the clipboard instead
Capture a selected area
This is the shortcut most people use all day. Press ⇧ ⌘ 4 and the pointer turns into a crosshair with live coordinates. Drag a box around the region you want and release to capture exactly that rectangle.
The clever part is what you can do while you are still dragging. These modifiers let you fine-tune the selection before you let go:
- Hold Space to move the whole selection box without resizing it, so you can nudge it into place after you start the drag.
- Hold ⇧ to lock one edge and resize only in the other direction, which keeps a clean horizontal or vertical crop.
- Hold ⌥ to resize from the center outward instead of from a corner, handy when you want a region centered on one point.
- Press Esc to cancel the whole thing with nothing captured and no file created.
Capture a single window
To grab one window cleanly, without the wallpaper or anything behind it, press ⇧ ⌘ 4 and then tap the Space bar. The crosshair becomes a small camera. Move it over any window and that window highlights. Click to capture it, complete with the soft drop shadow macOS renders around it.
That shadow looks great on a light background but leaves a wide transparent margin you may not want. To drop it, hold ⌥ as you click the window. Option-click gives you a tight rectangular capture with no shadow and no extra padding.
It works on menus too
The screenshot toolbar
Press ⇧ ⌘ 5 to bring up the full Screenshot toolbar. It is the control panel behind all the shortcuts above, plus a couple of things the plain keys cannot do. From left to right you get three capture modes, two screen recording modes, and an Options menu.
What the toolbar adds
- A visible set of buttons for whole screen, selected area, and selected window, so you do not have to remember which number does what.
- Two recording buttons: record the entire screen, or record a selected portion of it. macOS writes the result as a video file.
- An Options menu where you set the save location, add a countdown timer, choose whether to show the floating thumbnail, and turn on a microphone for recordings.
The timer is the reason to reach for the toolbar even for still shots. Under Options, pick a 5 or 10 second countdown, then set up your screen while macOS waits. It is the clean way to capture a hover state, an open dropdown, or a tooltip that only appears while the pointer is in the right place.
One note on recording audio
The Touch Bar and the clipboard trick
On the handful of MacBook Pro models with a Touch Bar, press ⇧ ⌘ 6 to save an image of the Touch Bar itself. It is a niche shortcut, but useful if you are documenting an app that puts controls up there.
The modifier worth memorizing on every Mac is ⌃. Hold Control with any of the shortcuts above and the capture goes to the clipboard instead of a file. That keeps your Desktop clean when you only need to paste an image once and never think about it again.
Where screenshots save, and how to change it
Out of the box, macOS drops every screenshot on the Desktop as a PNG named with the date and time. PNG is lossless and keeps text crisp, which is exactly what you want for interface shots.
To change where they land, open the ⇧ ⌘ 5 toolbar, click Options, and choose a location under Save to. You can point it at Documents, a specific folder, Mail, Messages, or the clipboard. Setting a dedicated Screenshots folder is the single best way to stop your Desktop from filling up.
To change the file format, open a shot in Preview and use File then Export to save it as JPEG or another type. There is no format switch in the toolbar itself, so Preview, or an app that exports in your chosen format, is the way to get a JPG.
The shortcut cheat sheet
Every method in one place. Column one is the key combination, then what it captures, then where the result ends up by default.
| Shortcut | What it captures | Saves where |
|---|---|---|
| Shift Command 3 | The whole screen, one file per display | Desktop, PNG |
| Shift Command 4 | A drag-selected area | Desktop, PNG |
| Shift Command 4 then Space | A single window, with its shadow | Desktop, PNG |
| Option-click in window mode | A single window, no shadow | Desktop, PNG |
| Control with any shortcut | The same capture, sent to the clipboard | Clipboard |
| Shift Command 5 | Toolbar: capture, record, timer, options | Your chosen folder |
| Shift Command 6 | The Touch Bar, on models that have one | Desktop, PNG |
From a flat grab to something worth sending
The built-in shortcuts are great at capturing. They do nothing to make the result look considered. A raw screenshot is a hard-edged rectangle pasted onto whatever background it lands on, and in a slide, a landing page, or a launch post it reads as an afterthought.
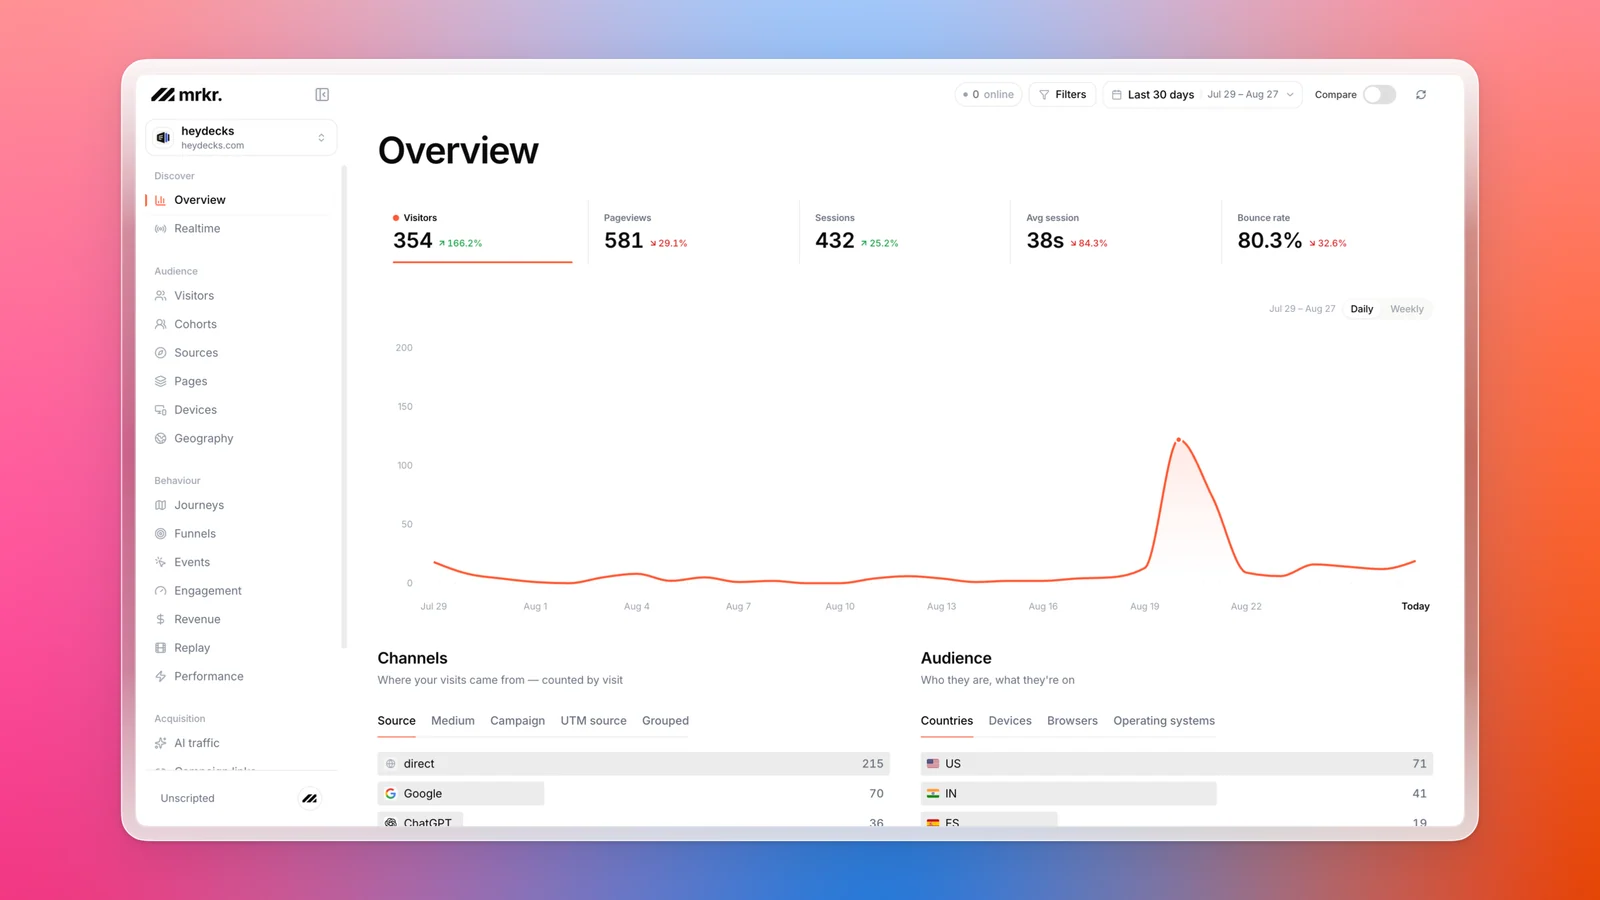
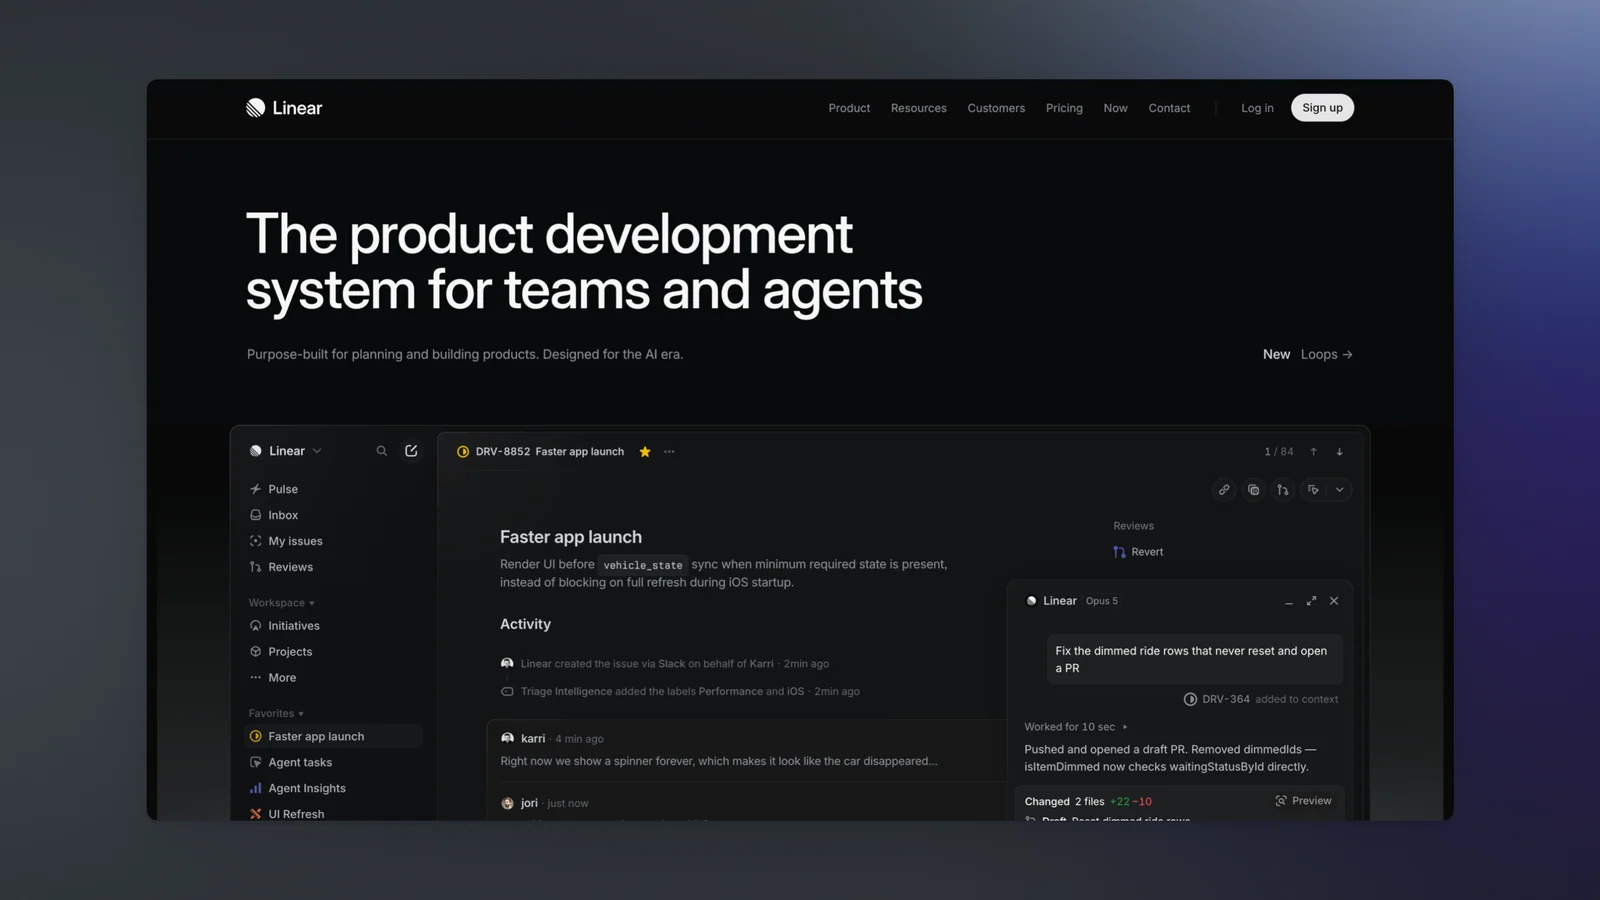
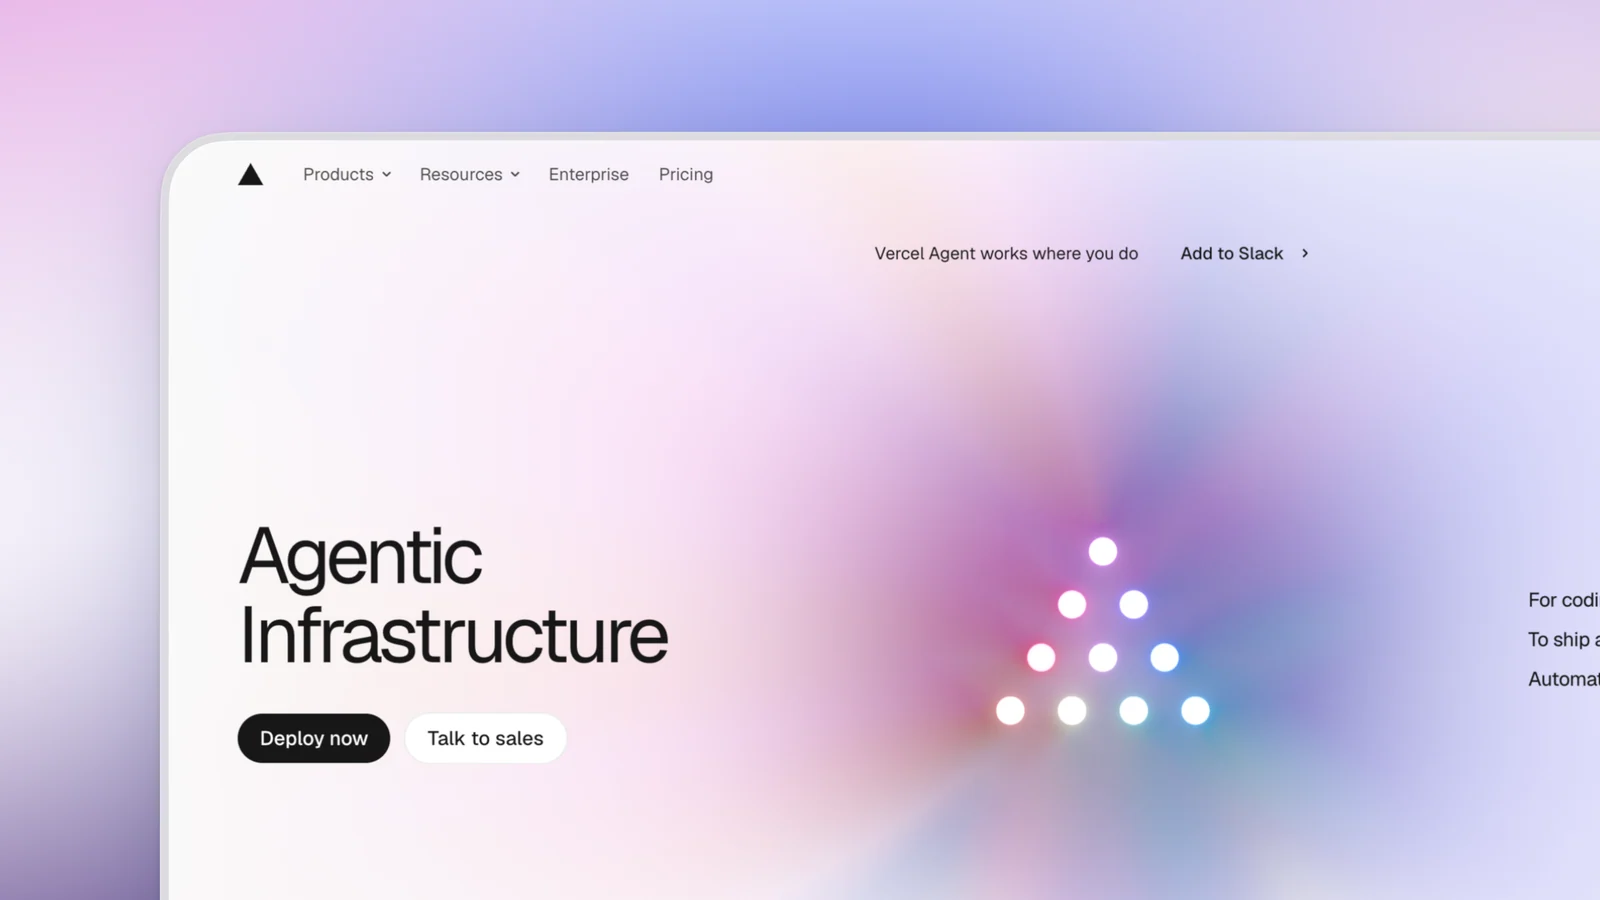
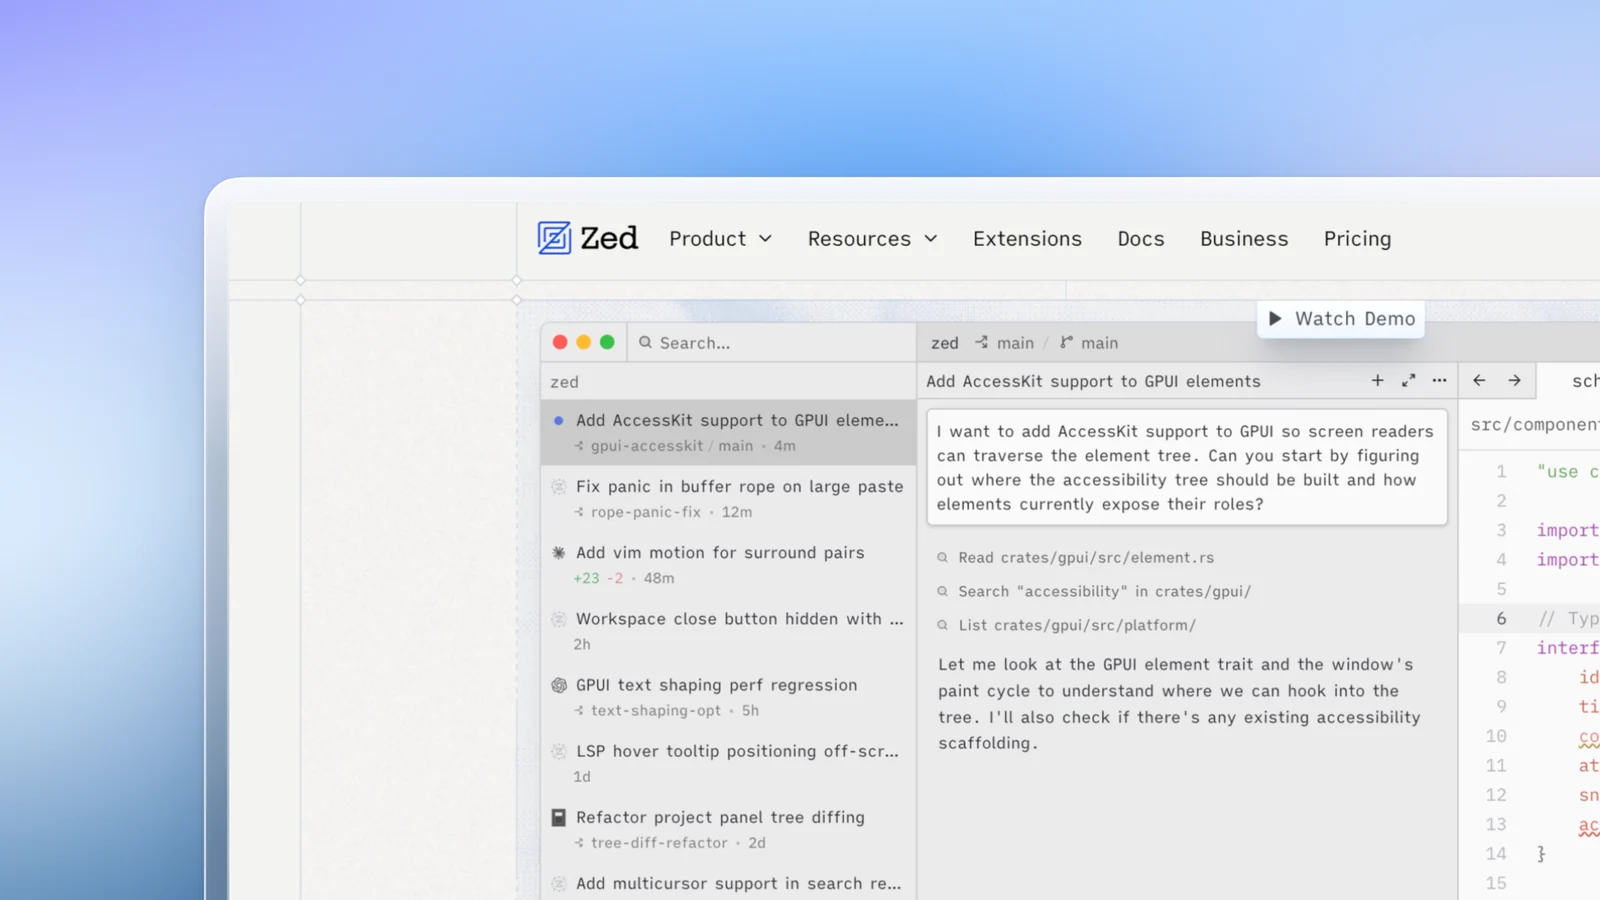
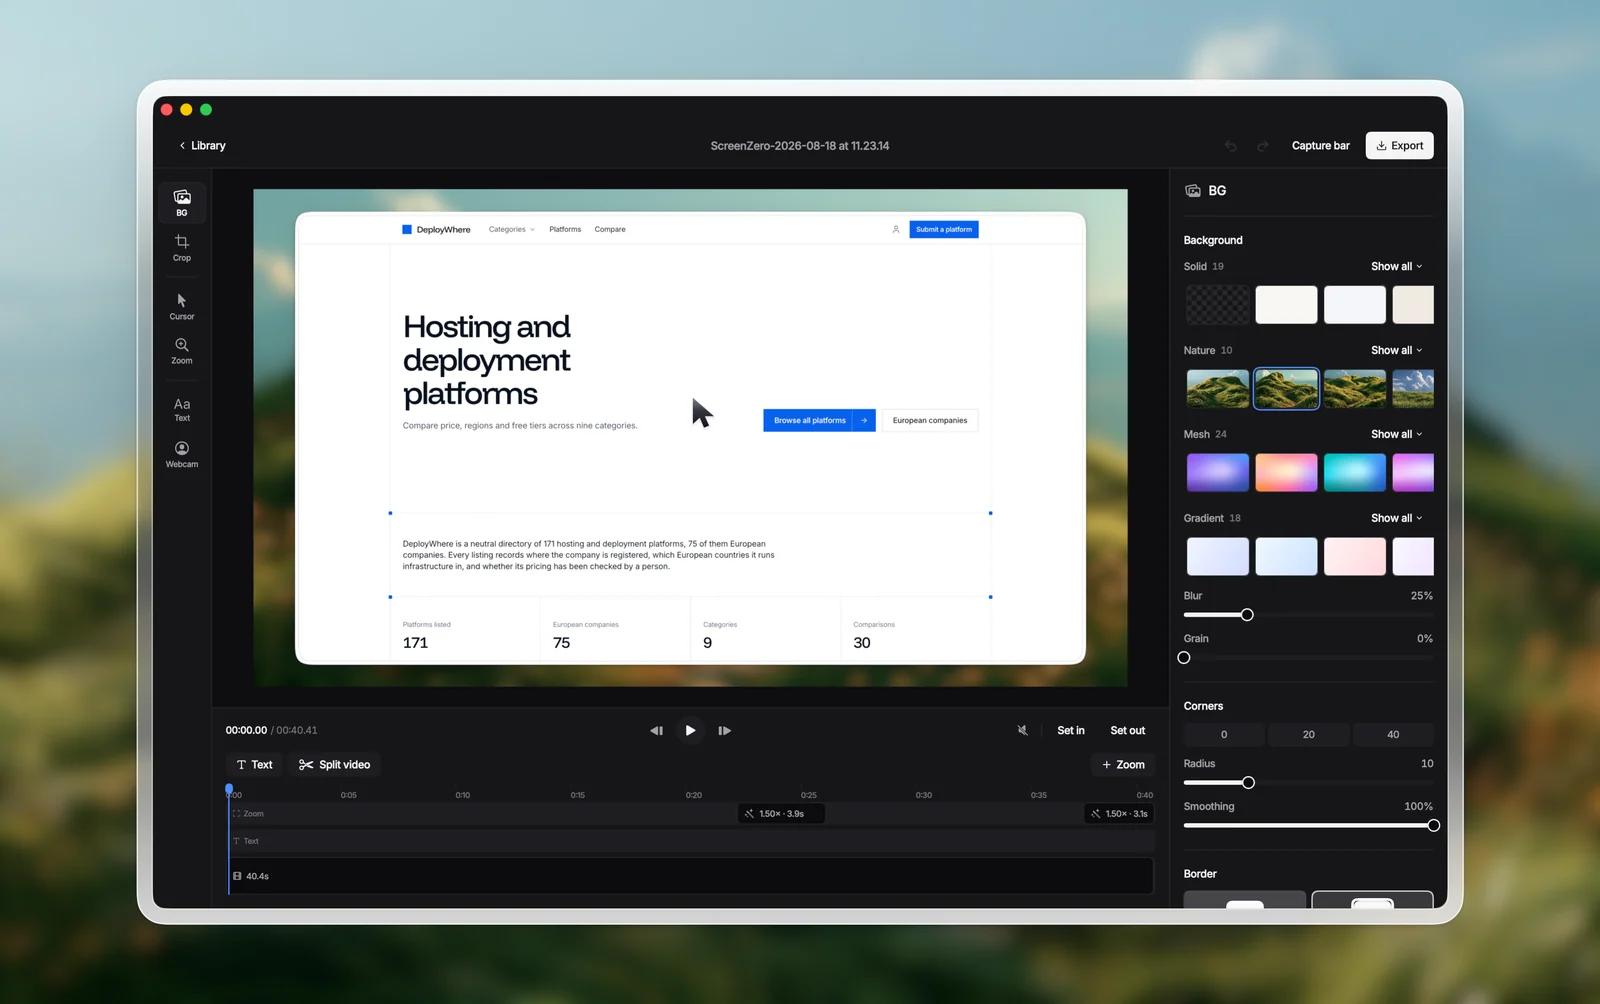
Compare the two below. Same capture, but the second one sits on a soft backdrop inside a macOS window frame with a real shadow, so it looks like it was placed on purpose rather than dropped in.

You can do this by hand in a design tool, adding padding, a gradient, a frame, and a drop shadow for every single shot. Or you drop the capture into Kapshot and it applies all of it at once, with backgrounds, window frames, and shadows you can adjust and then export or copy in one move.
- Auto-wraps any screenshot in a tasteful background, a real macOS window frame, and a shadow, with sensible defaults you can override.
- Balances padding and framing consistently, so a whole set of shots matches instead of drifting shot to shot.
- Exports at the resolution and format you need, or copies straight to the clipboard for a quick paste.
Made with [Kapshot]
Real captures, framed and beautified on a Mac.

The other half: recording, not just shots
Screenshots answer the question of how to show one moment. When you need to show a flow, a click path, or a feature in motion, you want a recording. The same ⇧ ⌘ 5 toolbar records your screen, but it captures a flat, static frame and only your microphone.
Kapshot handles the recording side properly. It follows your cursor and zooms in automatically on whatever you are doing, so viewers always see the detail, and it captures system audio and mic together in one click. If a screenshot is not enough to make your point, the same app that beautifies your stills records the demo. One tool, macOS 26 and later, paid once.
FAQ
Make the next screenshot [worth] sending.
Kapshot wraps your Mac screenshots in backgrounds, frames, and real shadows automatically, and records auto-zoom demos with system audio. Pay once, own it forever, nothing leaves your Mac.
Or try the free 7 day trial. No account, no subscription.