How to [screenshot] on a MacBook
Every built-in shortcut for a MacBook Air or MacBook Pro: the whole screen, a selected area, or a single window, where the files land, and how to make them look designed.
- One-time $19
- No subscription
- No account
- On-device
Updated August 2026·6 min read
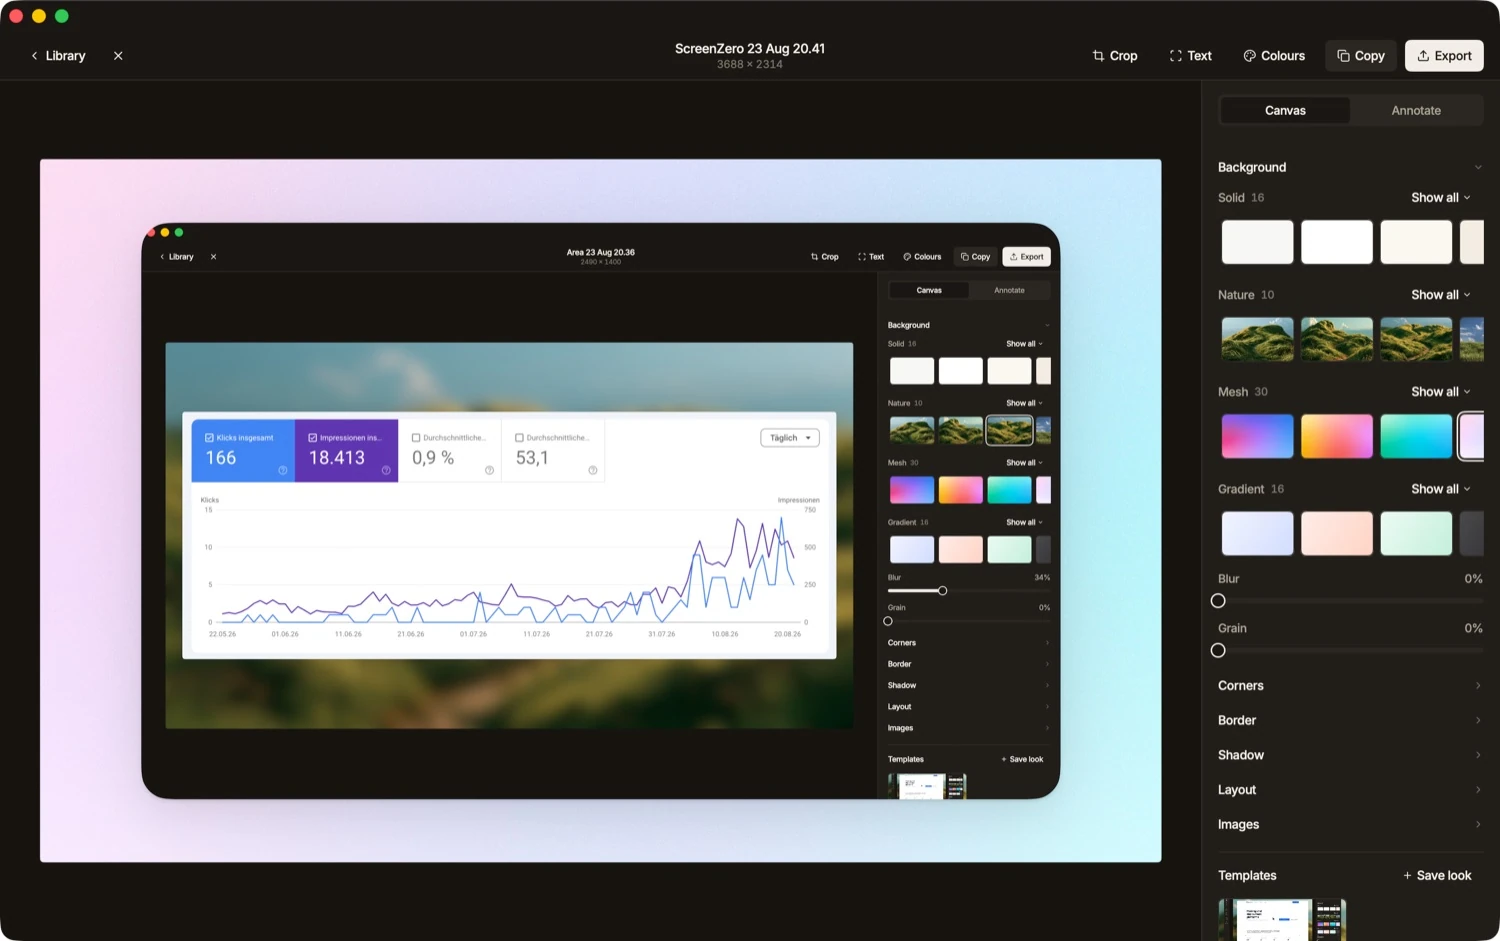
Every MacBook takes screenshots the same way, whether it is a MacBook Air, a 14-inch Pro, or an older model. It is all built into macOS through a handful of keyboard shortcuts. Here is the short version, then each method in detail.
- ⇧⌘3 captures the entire screen.
- ⇧⌘4 lets you drag a box around a selected area.
- ⇧⌘4 then Space captures one window with its shadow.
- ⇧⌘5 opens the toolbar for capture, screen recording, and options.
The MacBook keyboard, in one glance
A MacBook keyboard has no number pad, so every screenshot shortcut uses the number keys along the top row. The keys you need are ⇧ (Shift), ⌘ (Command, next to the Space bar), and a number. Press all of them together, not one after another.
The row of keys at the very top of the keyboard is the function row. On most MacBooks sold today it holds normal keys for brightness, volume, and Spotlight. A handful of MacBook Pro models made between 2016 and 2023 replaced that row with a Touch Bar, which matters for only one screenshot shortcut. More on that below.
Nothing to install
Capture the whole screen
The fastest capture. This grabs everything on the display, including the menu bar and the Dock, and drops a PNG on your Desktop.
- 1
Press ⇧⌘3
Hold Shift and Command, then tap the 3 key on the top number row. You will hear a shutter sound if your volume is up. - 2
Find the thumbnail
A small preview slides into the bottom-right corner for a few seconds. Click it to mark up or crop the shot right away, or ignore it and the file saves on its own. - 3
Grab the file from the Desktop
The screenshot is waiting on your Desktop as a PNG named with the date and time. Drag it into any app, or rename it and file it away.
Capture a selected area
This is the one most people use. It lets you draw a box around exactly the part of the screen you want, so you never crop later.
- 1
Press ⇧⌘4
The pointer becomes a crosshair with small coordinates next to it. - 2
Drag a box over what you want
Click and drag from one corner to the opposite corner. Release the trackpad or mouse to take the shot of everything inside the box. - 3
Nudge or cancel with Space and Esc
Midway through a drag, hold the Space bar to move the whole selection without resizing it. Press Esc at any time to cancel and take no screenshot.
Copy straight to the clipboard
Capture a single window
A clean way to shoot just one app window, with the rounded corners and drop shadow intact. Great for support tickets, docs, and posts.
- 1
Press ⇧⌘4, then tap Space
The crosshair turns into a camera icon. Whatever window you hover over is highlighted in blue. - 2
Click the window you want
Move over the target window and click once. macOS captures just that window, keeping its shadow on a transparent background. - 3
Hold Option for no shadow
Prefer a flat cutout with no drop shadow? Hold Option as you click. The window is captured with clean edges and no surrounding halo.
The screenshot toolbar
When you want more control, the toolbar puts every capture mode in one place, along with screen recording and a save-location picker.
- 1
Press ⇧⌘5
A control bar appears near the bottom of the screen with buttons for capturing the whole screen, a window, or a selection, plus two recording buttons. - 2
Open Options
Click Options to choose where files save, such as the Desktop, Documents, or the clipboard, set a five or ten second timer, and toggle whether the floating thumbnail appears. - 3
Capture or record
Pick a mode and click Capture. The same toolbar records your screen too, though its built-in recorder captures the microphone only, not your Mac's own system audio.
Touch Bar MacBooks only
Make a screenshot [designed], not raw
The built-in shortcuts give you a plain PNG. That is perfect for a quick reference, but it looks bare in a blog post, a slide, or a product update. This is where Kapshot picks up: it wraps that same capture in a background, a window frame, and a real shadow so it reads as a finished image.

Straight off the display
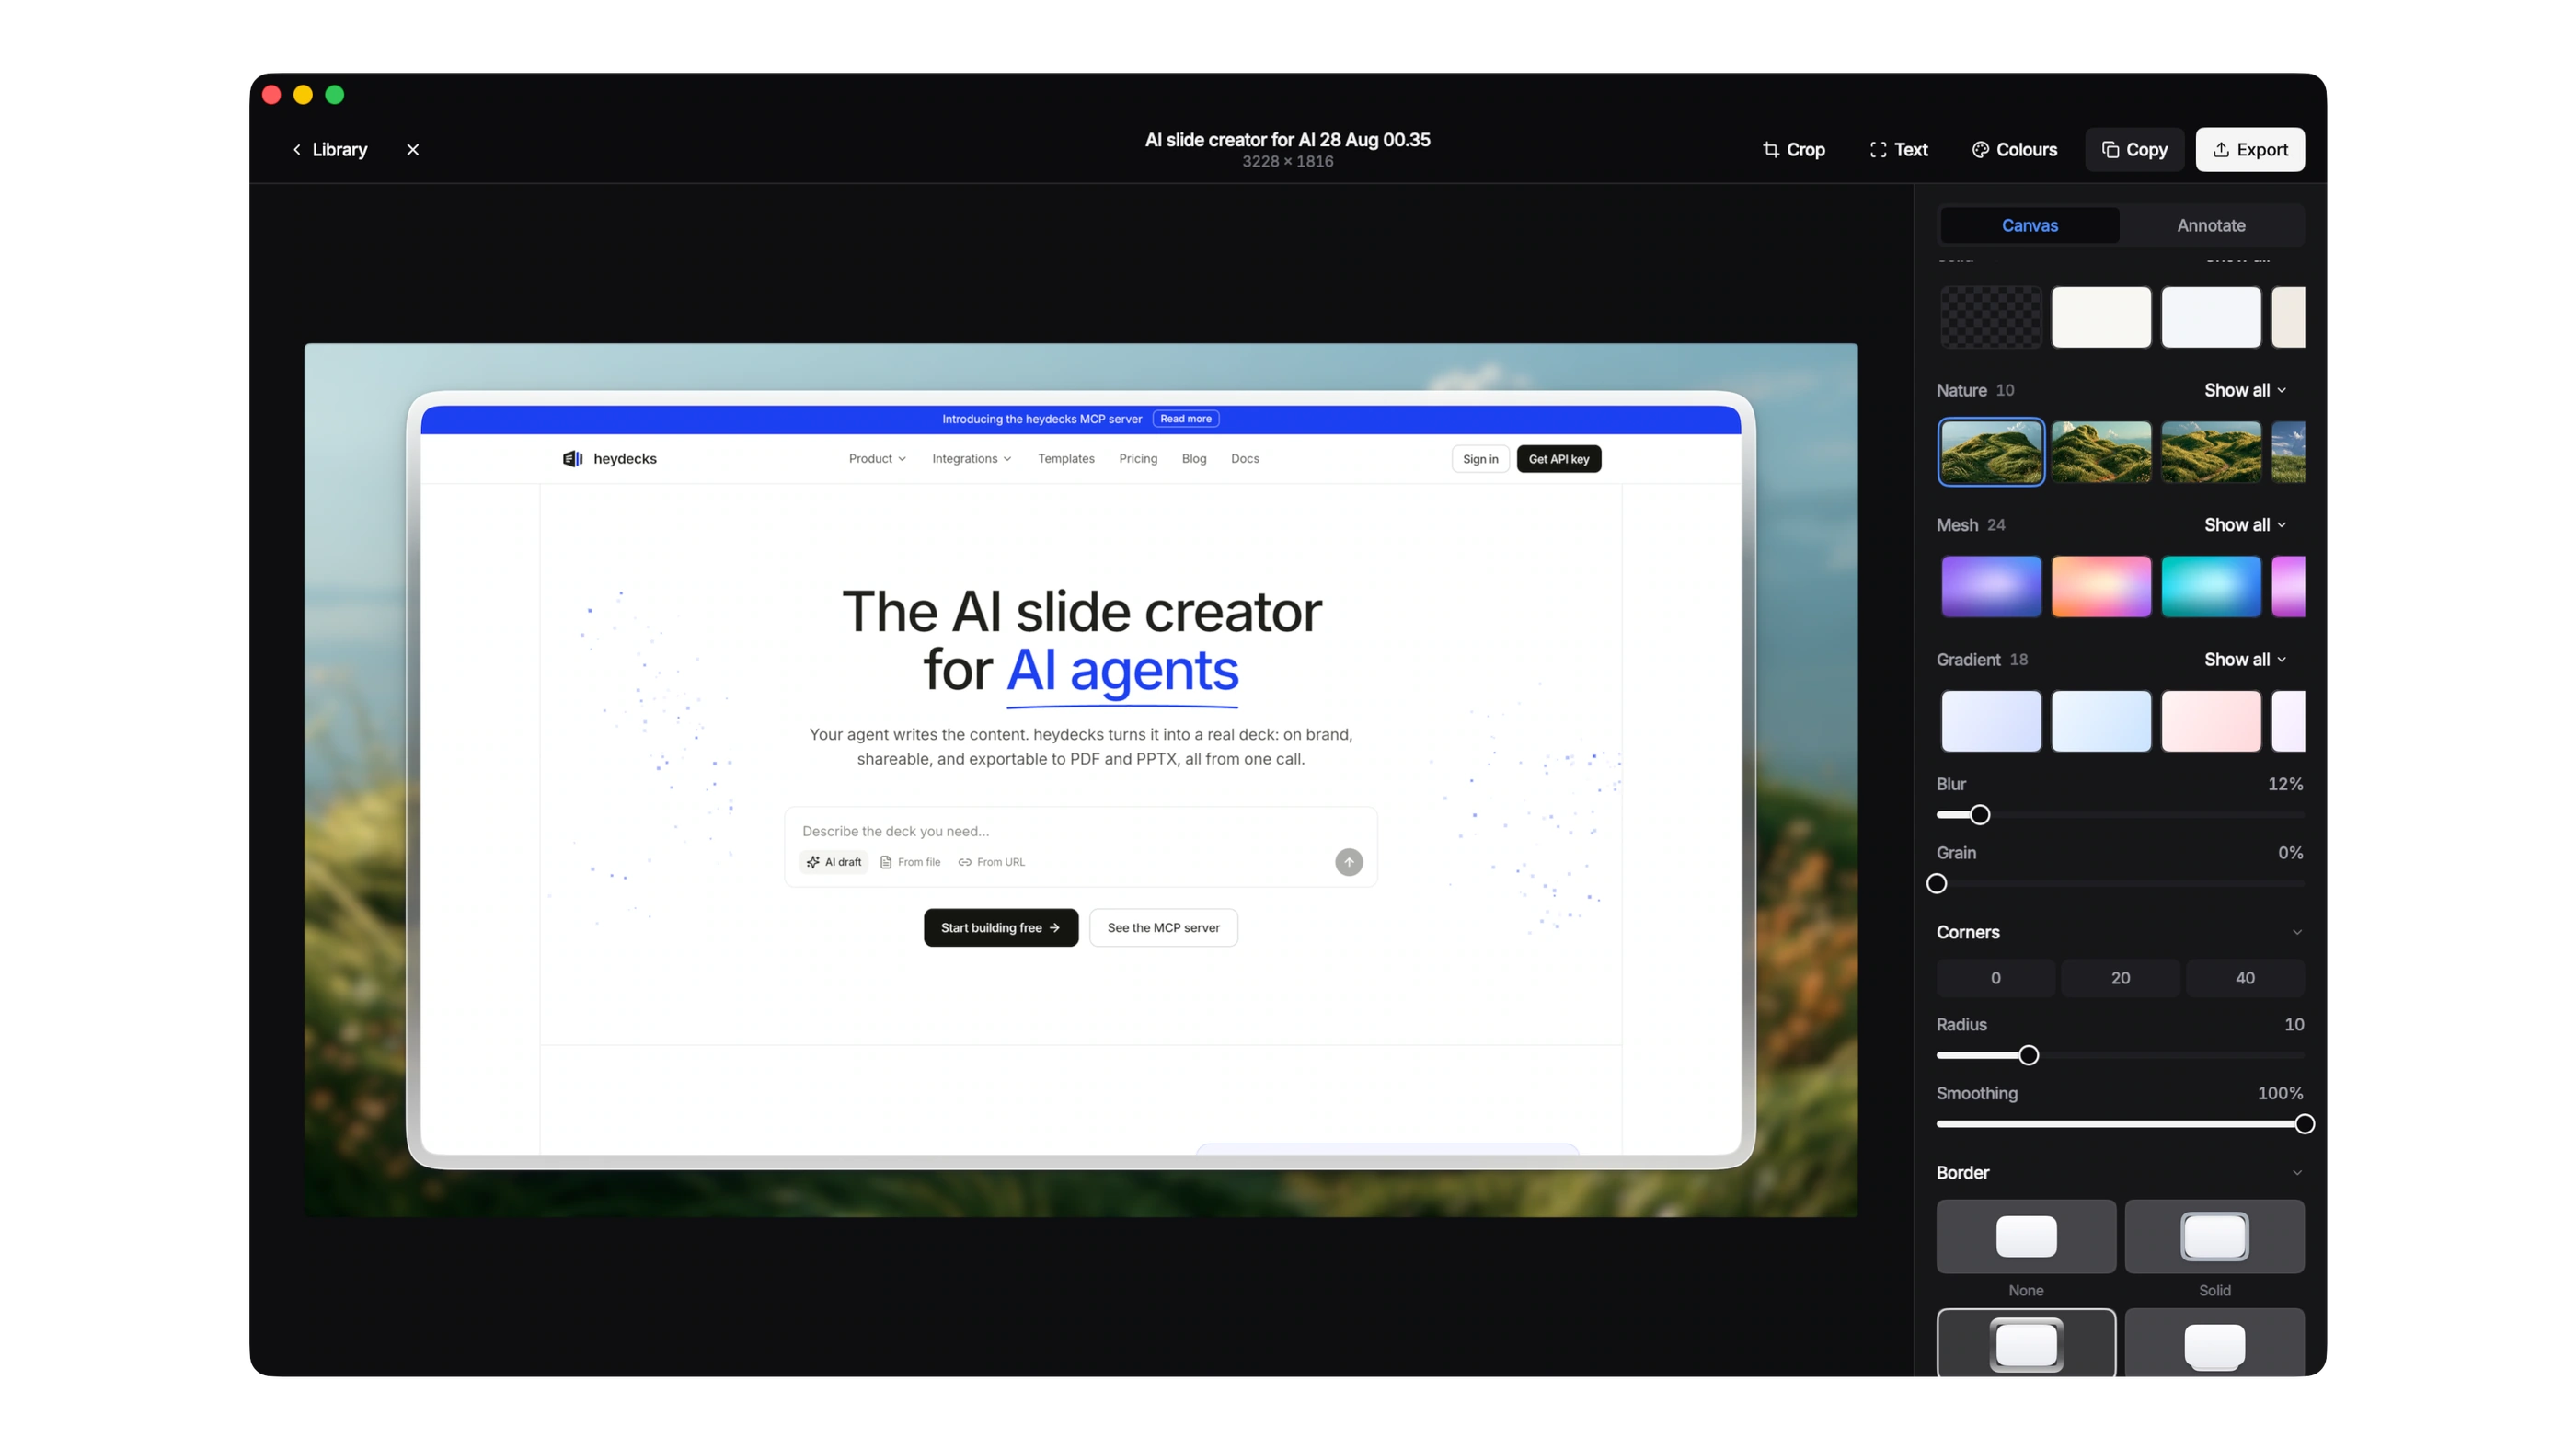
Beautified in the Kapshot editor
Everything happens on your MacBook. Nothing uploads, there is no account, and it is a one-time purchase rather than a subscription. The point is not to replace the built-in shortcuts, which are fast and free. It is to take the raw file they produce and make it look like you meant it.
Two jobs, [one app]
Screenshots and screen recordings both live in Kapshot, and both come out looking finished.
Frame and background
Wrap any capture in a macOS window, a tasteful backdrop, and a soft shadow automatically.
Auto-zoom recording
Record your screen and the view eases in toward the cursor on its own, no editing needed.
One-click audio
Capture system sound and the mic together, something the built-in recorder cannot do alone.
The same app records, too
A still image is only half the story. When you need to show a flow, a bug, or a walkthrough, Kapshot records the screen and follows your cursor with a smooth automatic zoom, then lets you export without a watermark. The clip below was recorded and beautified in the app.
If recording is your main goal, the deeper guides walk through the built-in tools and the audio workarounds. Otherwise, keep the shortcuts above for stills and let one app handle the polish for both.
Built-in shortcuts vs Kapshot
The two are not rivals. Use the shortcuts for a fast grab, and reach for Kapshot when the shot needs to look presentable or when you also want to record.
| Kapshot | Built-in macOS | |
|---|---|---|
| Keyboard-shortcut capture | ||
| Saves a plain PNG | ||
| Automatic background and frame | ||
| Real drop shadow on any shot | ||
| Screen recording with auto-zoom | Manual, no zoom | |
| Records system audio plus mic | Mic only | |
| Price | $19 once | Free |
MacBook screenshot FAQ
Made with [Kapshot]
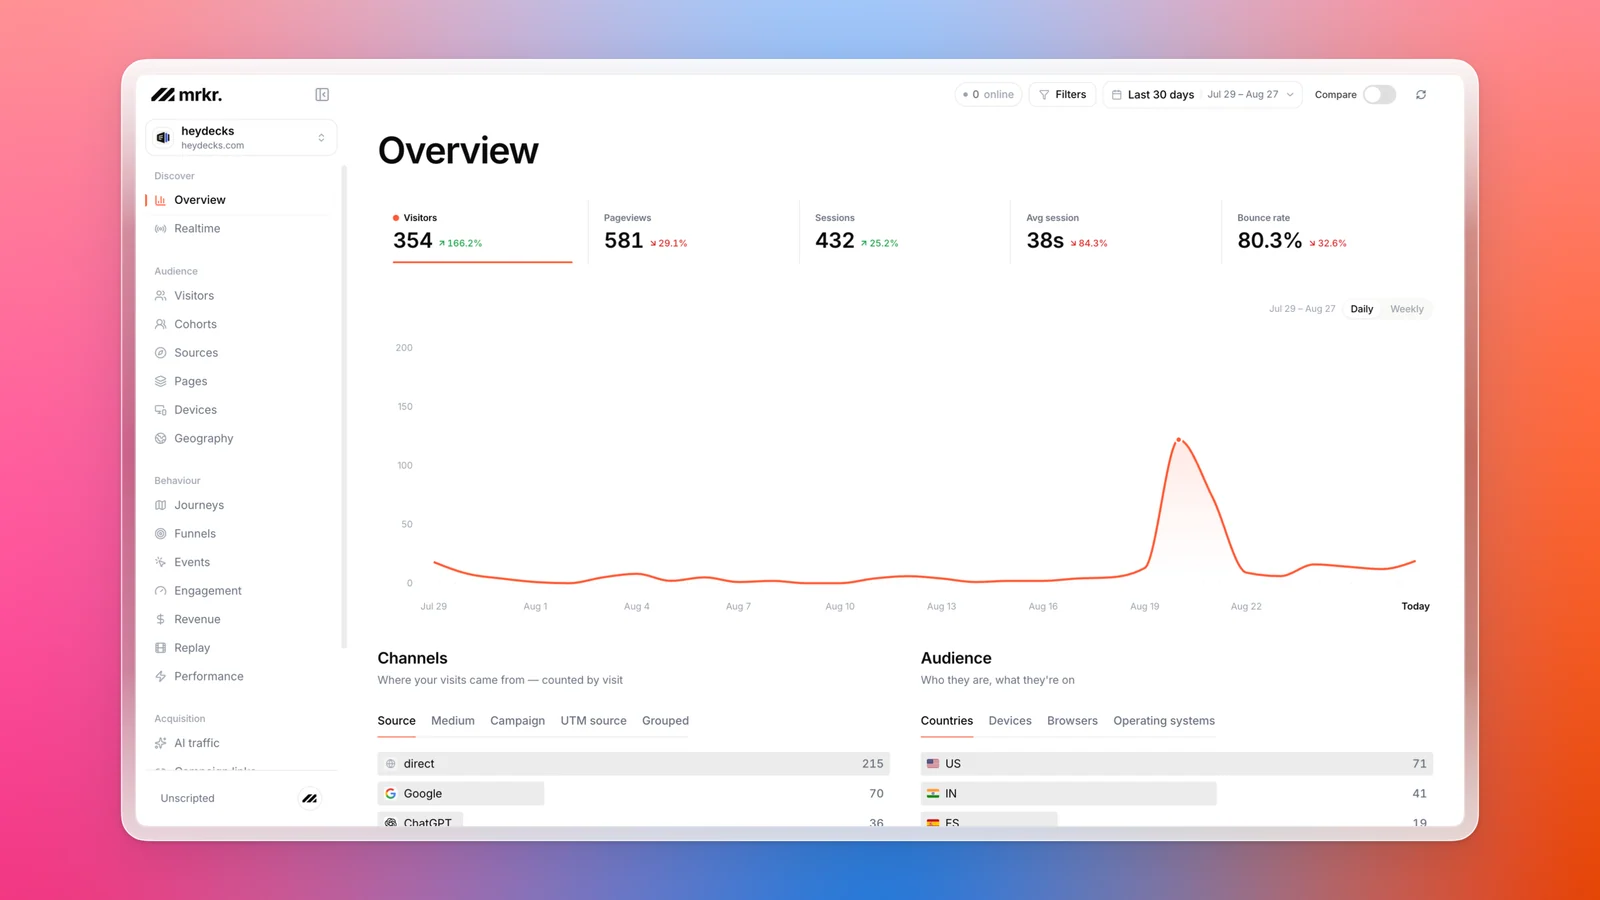
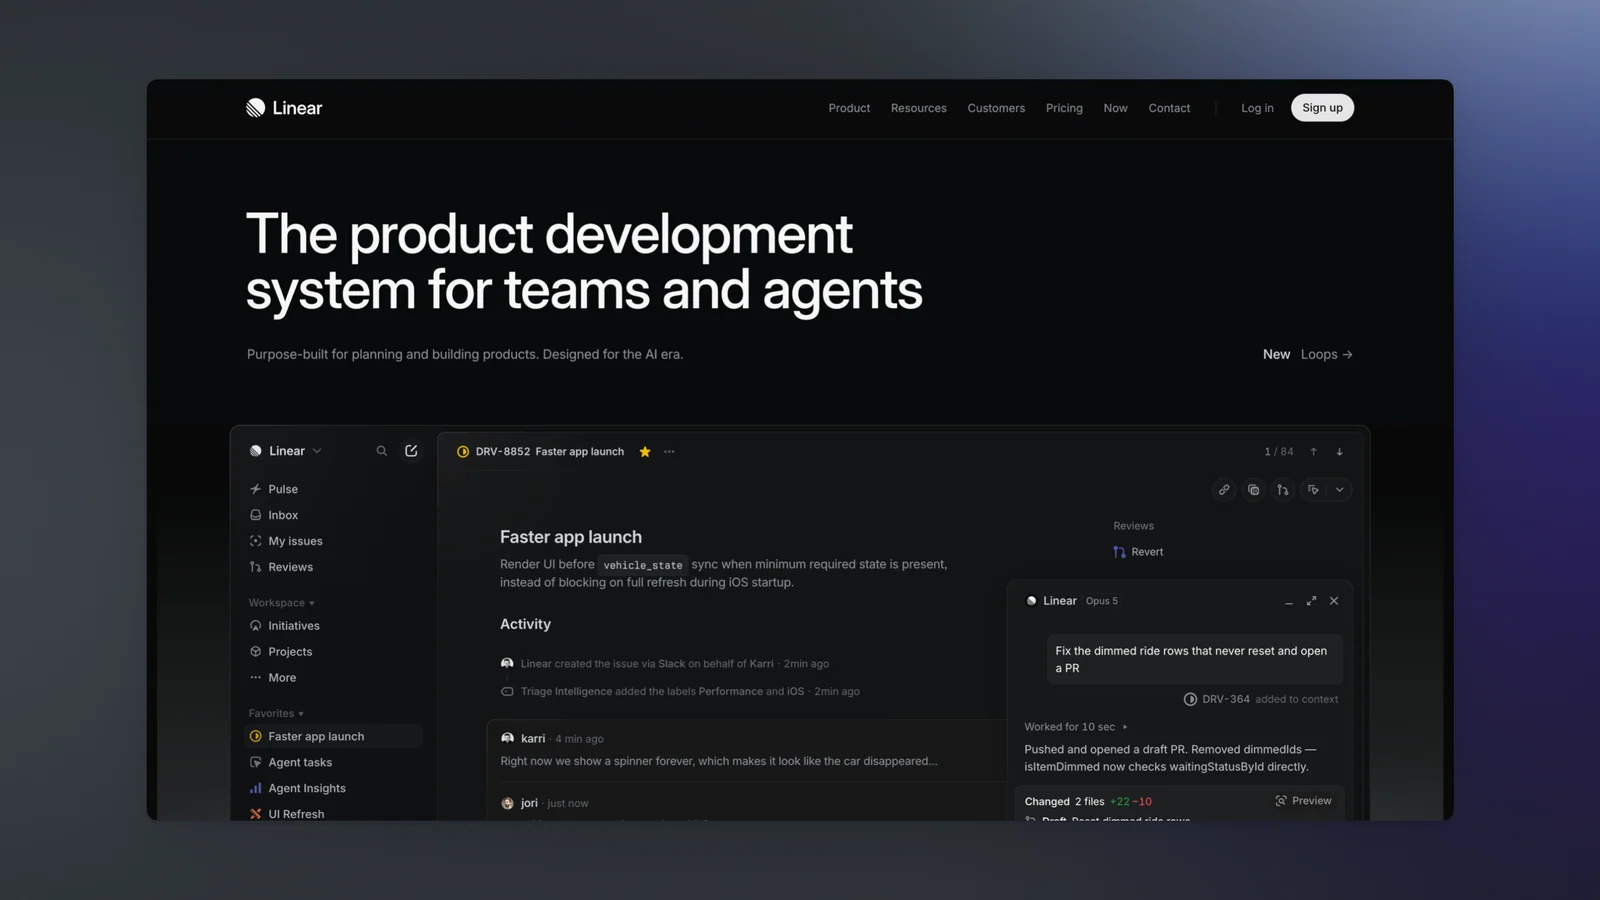
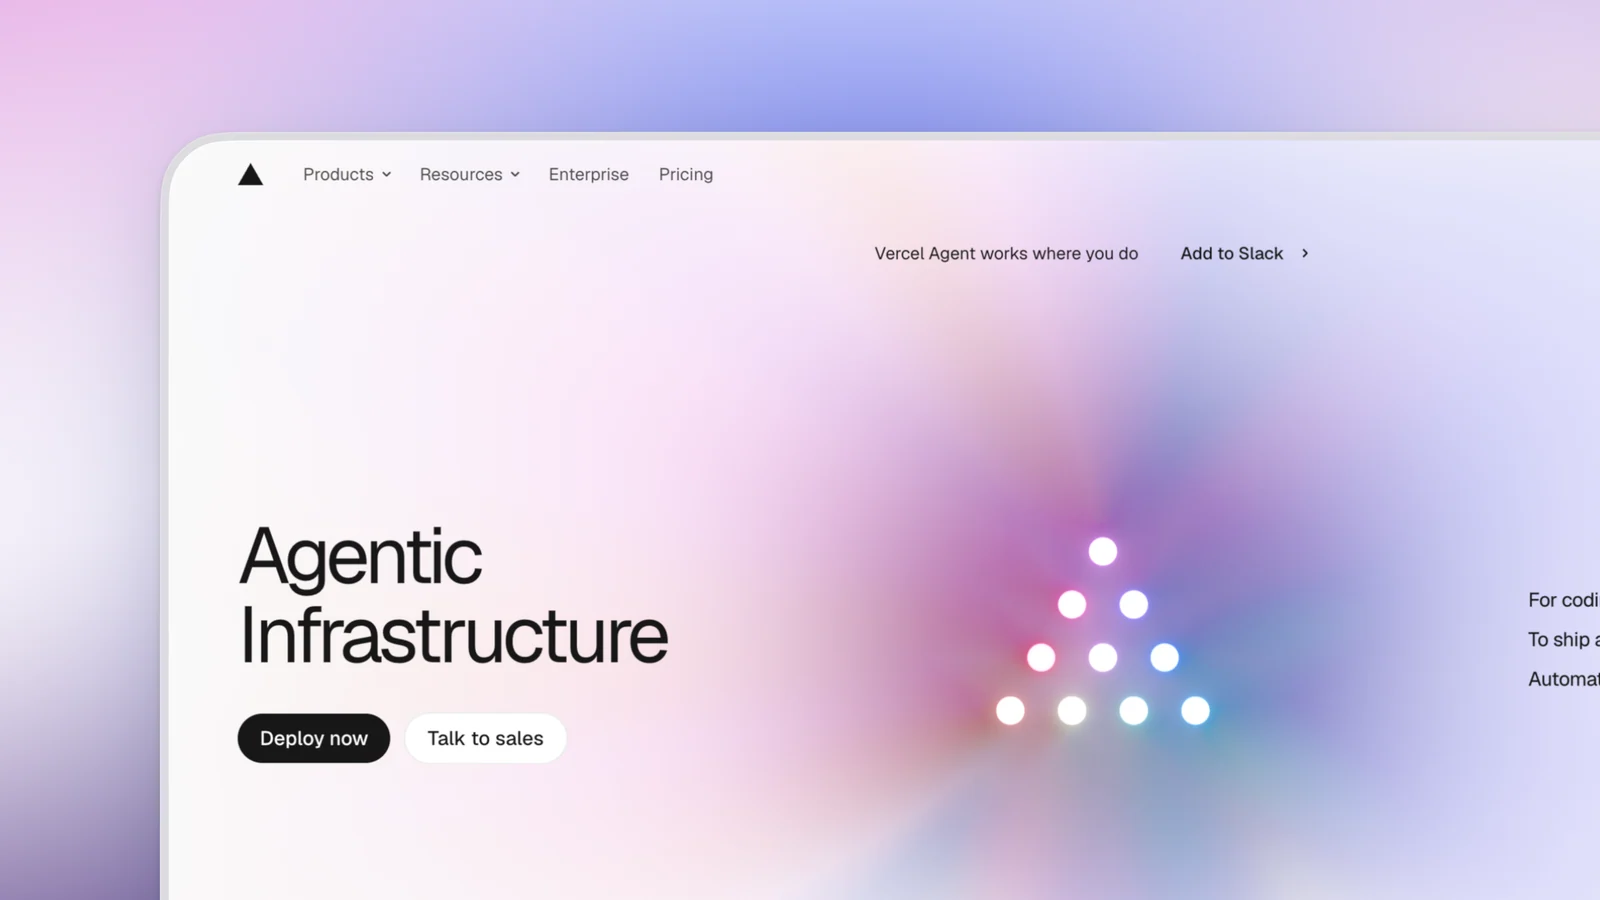
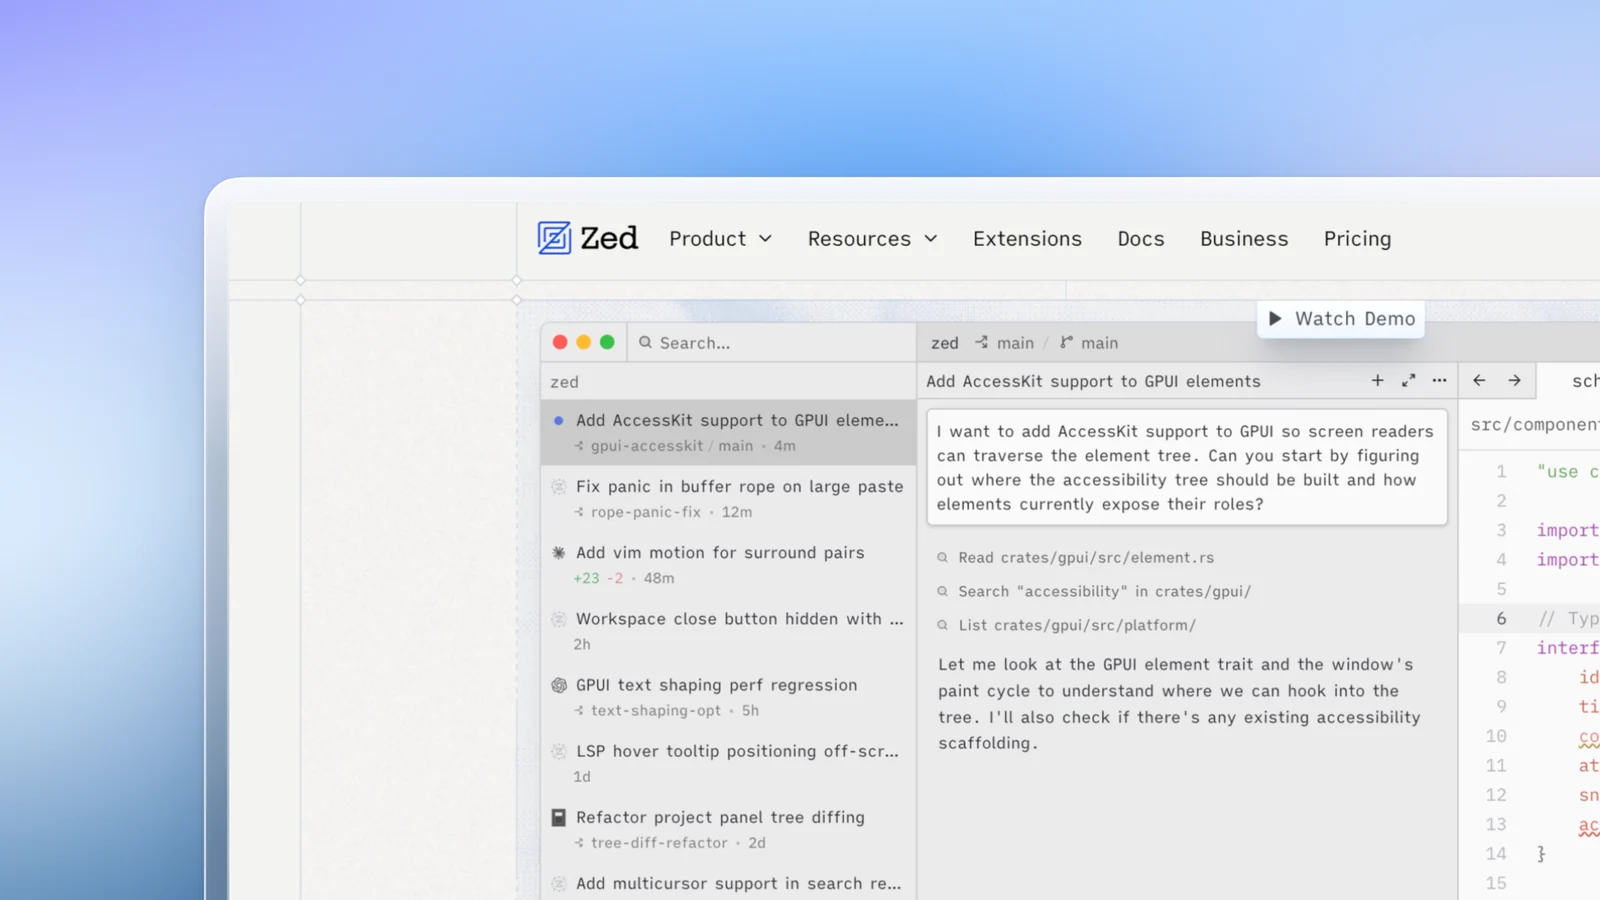
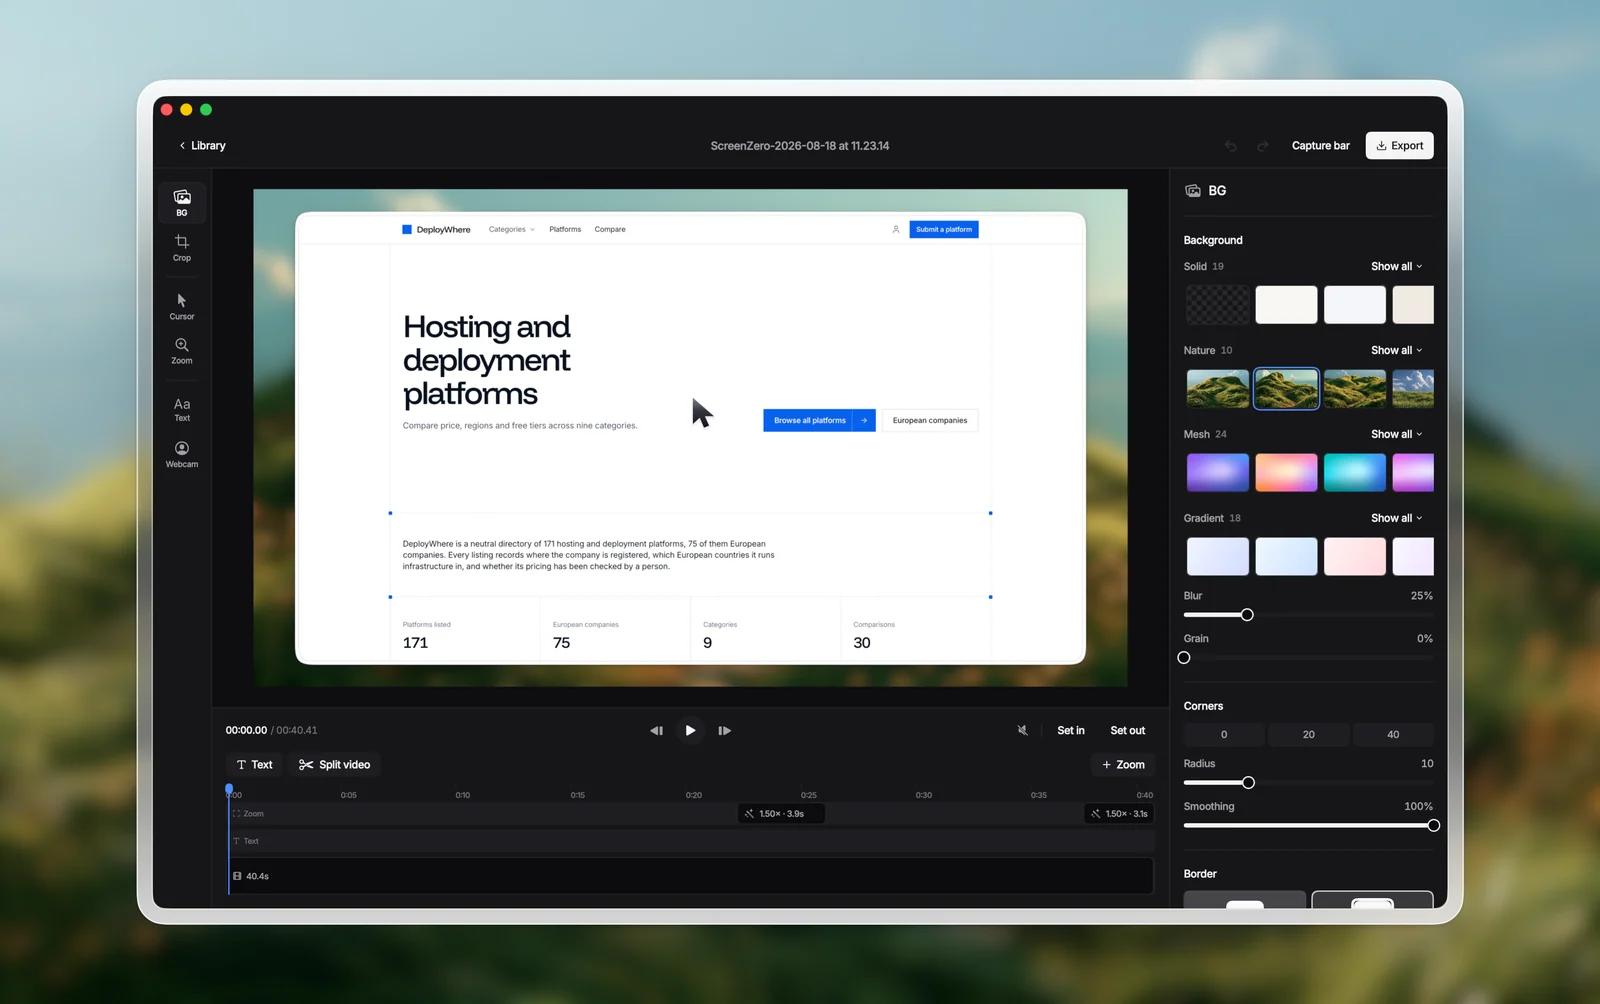
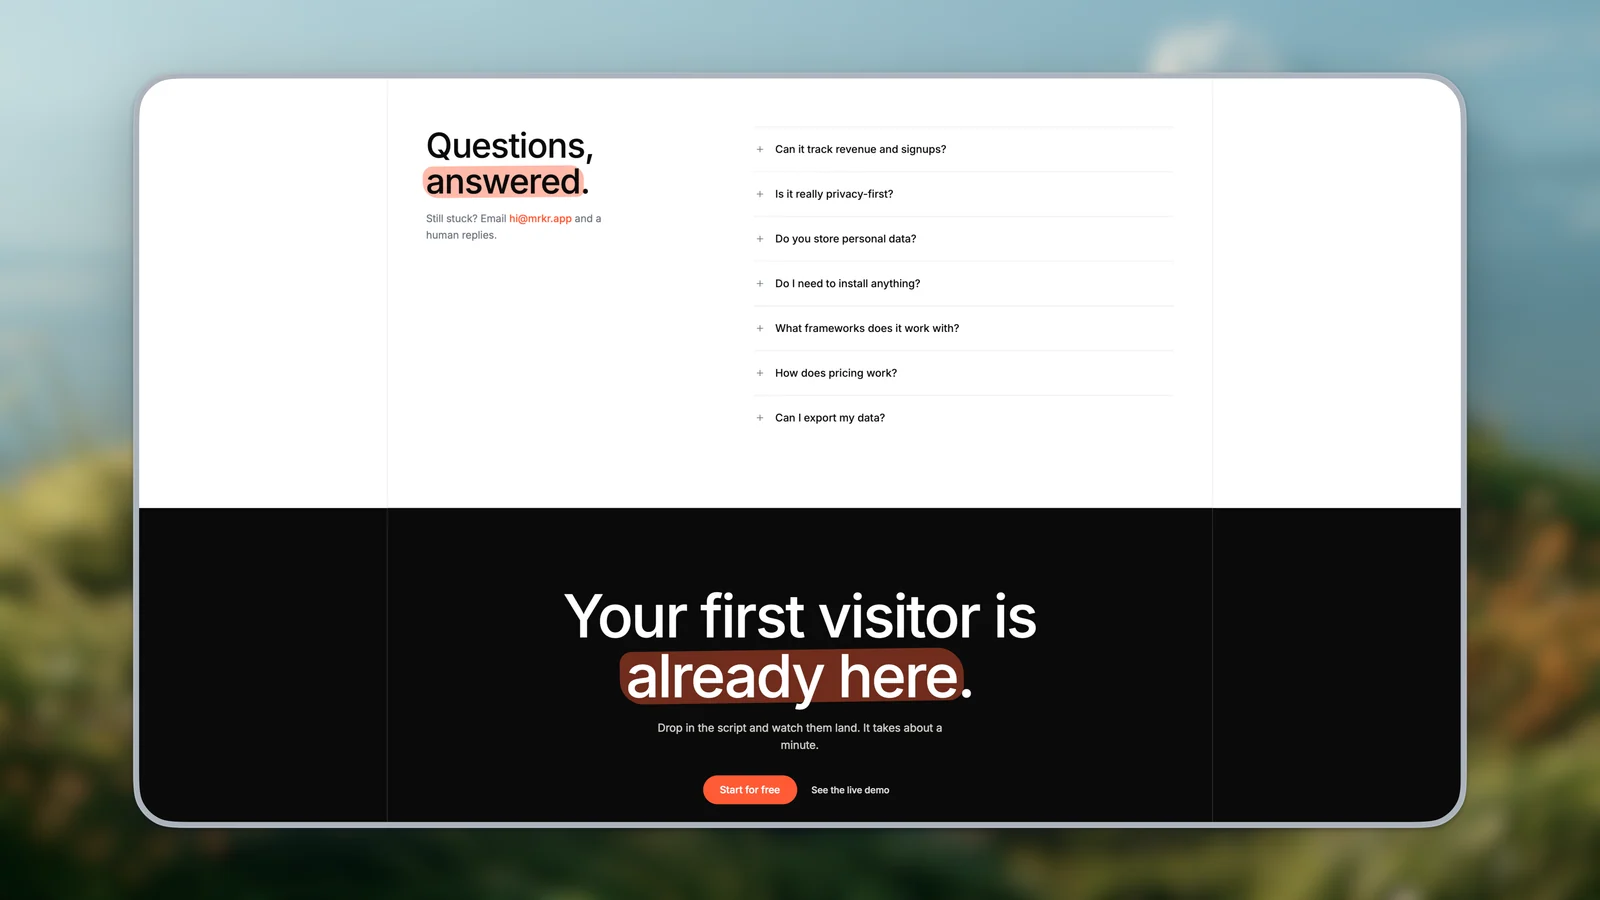
Real captures, framed and beautified on a Mac.
Shoot it on your MacBook. [Ship] it looking designed.
Kapshot frames and polishes every screenshot automatically, and records your screen with auto-zoom. One payment, no subscription, nothing leaves your Mac.
Or try the free 7 day trial. No account, no subscription.